Chocolate Truffles
A classic for holiday giving, this recipe is one with a lot of opportunities for experimenting with flavors and toppings to make special creations. Have fun with things you have on hand!
One batch yields about 20 truffles
Ingredients:
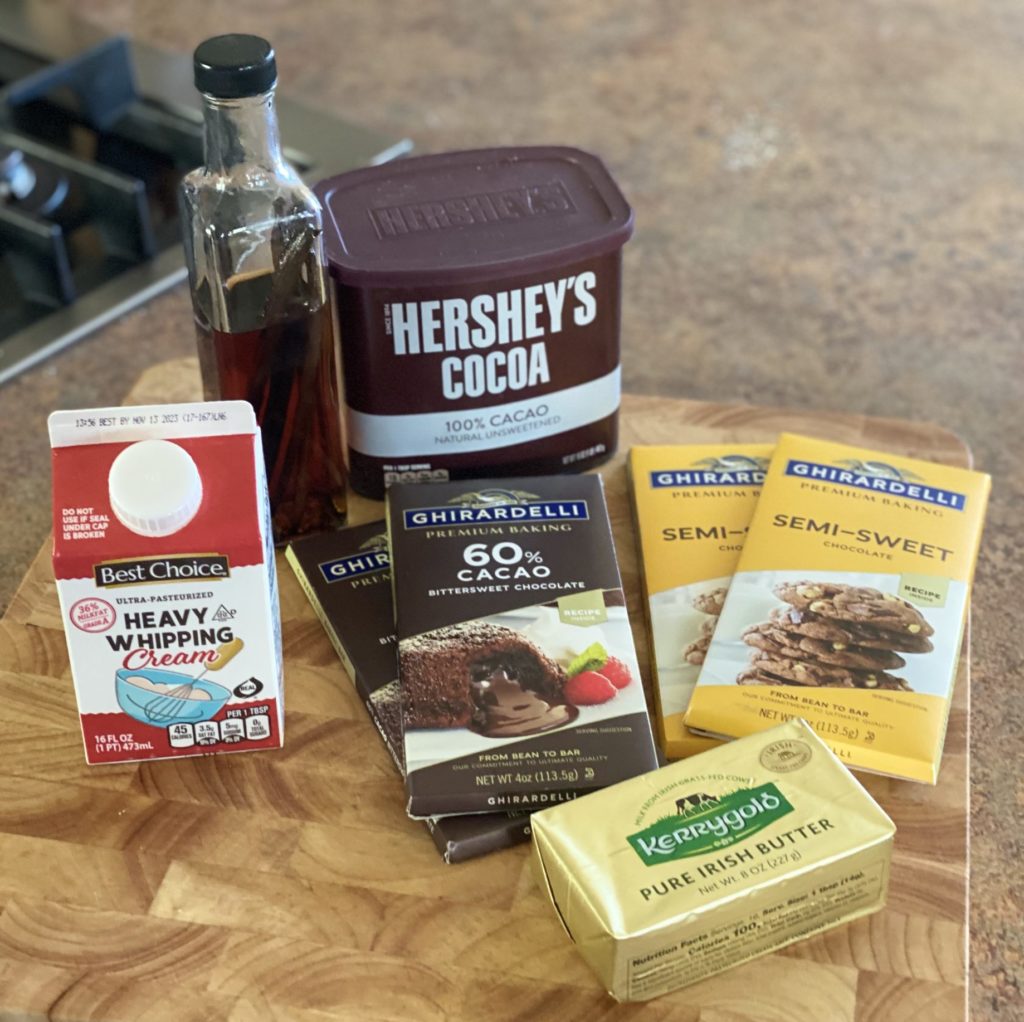
- 8 oz baking chocolate (bittersweet, semi-sweet, milk, or even white chocolate works. Don’t use chocolate chips or regular bar chocolate–they contain stabilizers that will negatively affect the texture.)
- 2/3 cup heavy cream
- 1 tbsp. unsalted butter at room temperature
- (optional) 1/2 tsp. vanilla or other liqueur for flavoring (this is where you go wild, folks. And don’t break the bank on alcohol–the little airplane bottles of booze will be enough to make several batches.)
- (optional, but recommended for ease in eating because they are gooey!) toppings. The classic choice us unsweetened cocoa powder. Sprinkles of all kinds, flavored sugars, and even diced candied fruits could all be used for this purpose. You can also make lovely, professional looking truffles by coating them with dipping chocolate.
Instructions:
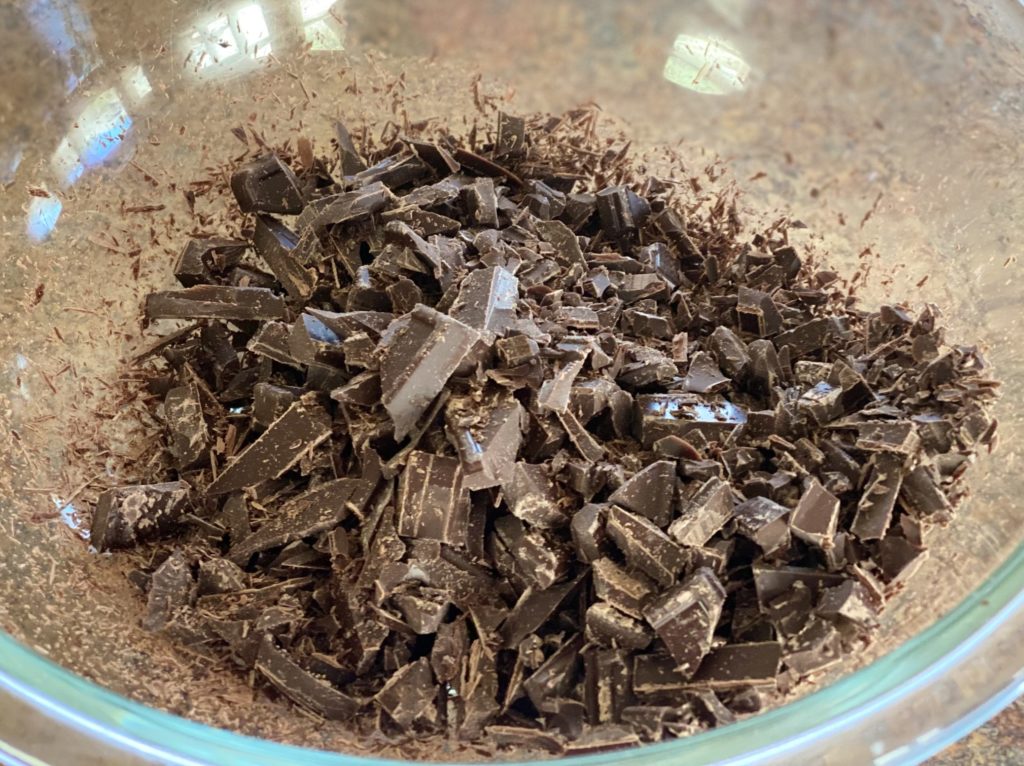
- Chop the chocolate fine. VERY fine. Keep going. Maybe get out the food processor? Place it in a heat-proof bowl (microwave safe is a good idea here). NB: the chocolate below was NOT fine enough.
- Cut the butter into small chunks. If it’s not room temp, pop it in the microwave for just a few seconds. Scatter evenly over the
- Simmer the cream on the stove until bubbling. Pour evenly over the chocolate and butter. Let sit a full 5 minutes.
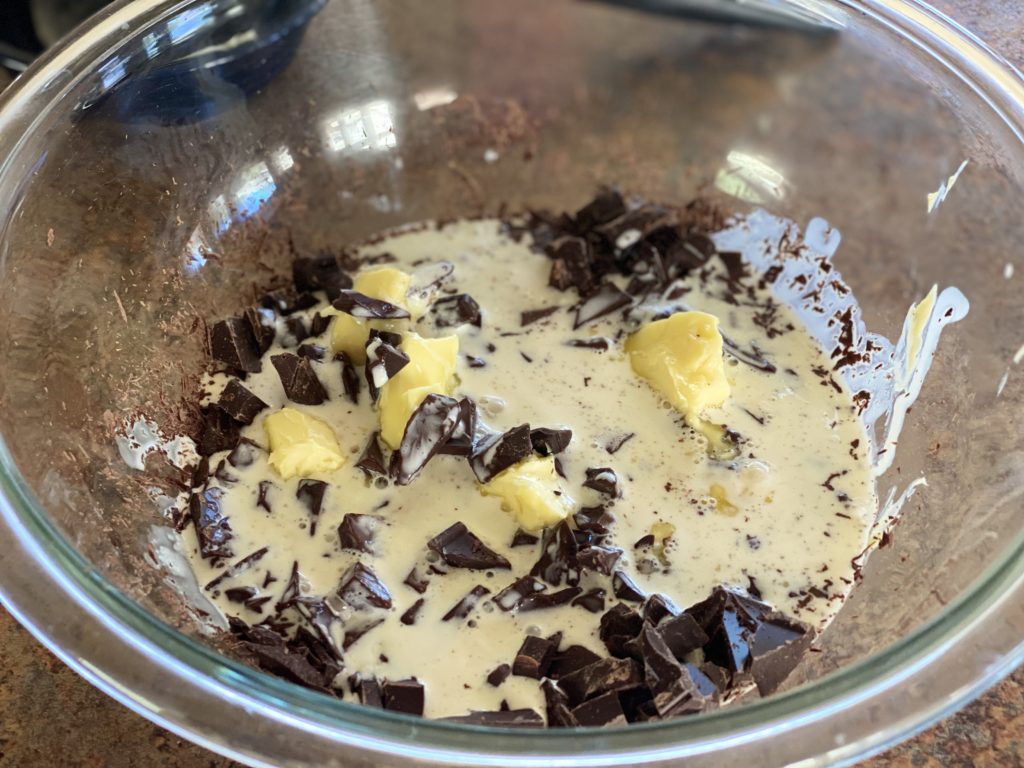
- Add in the vanilla or liqueur (if using) and stir the mixture. If you chopped the chocolate fine enough, it should have melted pretty well. If it didn’t (and mine didn’t for either batch), either place the bowl over pan of boiling water until it melts (preferred method) or *carefully* pop it in the microwave in ten second increments until the chocolate is melted. Be careful not to scorch it!
- Scrape down the sides of the bowl and put a layer of plastic wrap over the truffle batter, touching the chocolate so it doesn’t get gooey from condensation. Let chill at least 2 hours. Using the freezer for a short while can help speed this, but don’t forget it.
- Form truffle batter into balls roughly 1 teaspoon in size. A cookie scooper is useful. If the dough is still really sticky and hard to work with, you don’t need to shape them perfectly. Put back in fridge one more hour. This will make them *much* easier to work with.

- If they truffles are not well shaped, roll them into nice, even balls now. roll in cocoa powder, sprinkles, chopped nuts, etc or coat in dipping chocolate and let harden.
- Return to fridge until ready to serve. Can be frozen in airtight container up to three months.
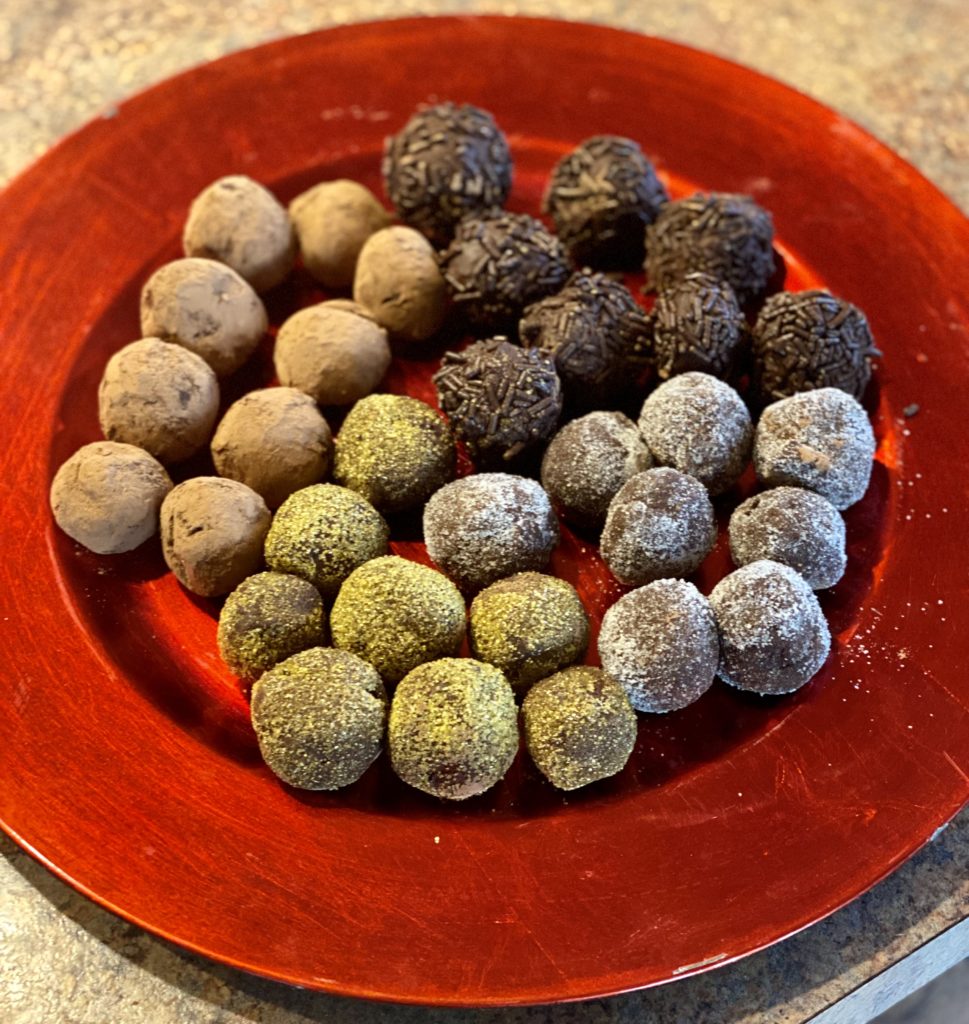
The fun part here is playing with the flavors to complement the chocolate. All those wacky vanilla combos we talked about a couple of weeks ago? Try therm here!
Ideas:
- Fireball-Vanilla truffles with cocoa and cinnamon dusting
- Brandy truffles with chopped nuts
- Peppermint extract or liqueur with crushed candy canes
- Maple extract truffles with maple sugar dusting (this screams Thanksgiving dessert to me, one served on each slice of Pumpkin Pie)
- Rose water truffles with pink sprinkles and an edible rose leaf on top (Lovely for Valentine’s Day!)
